My Blogs
Making a Simple Space Shooter using p5.js and ES6 part 1
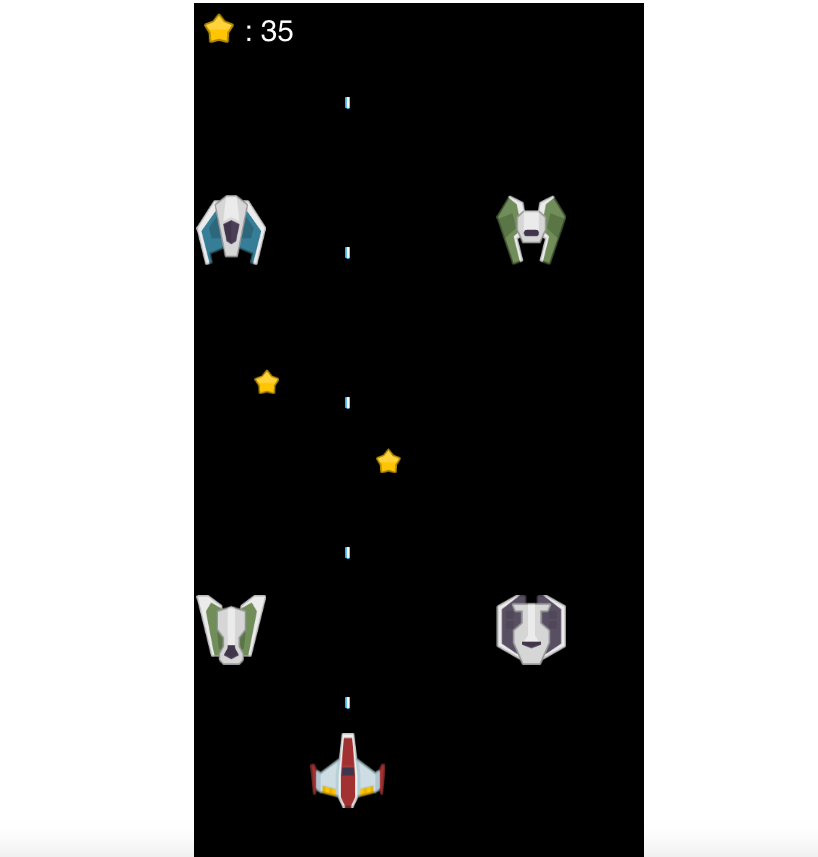
In this article series, we are going to create a Simple Space Shooter game in HTML5 using p5.js.
We are going to use p5.js, a Javascript library for rendering web animations in Canvas.
To get started let us download click here.
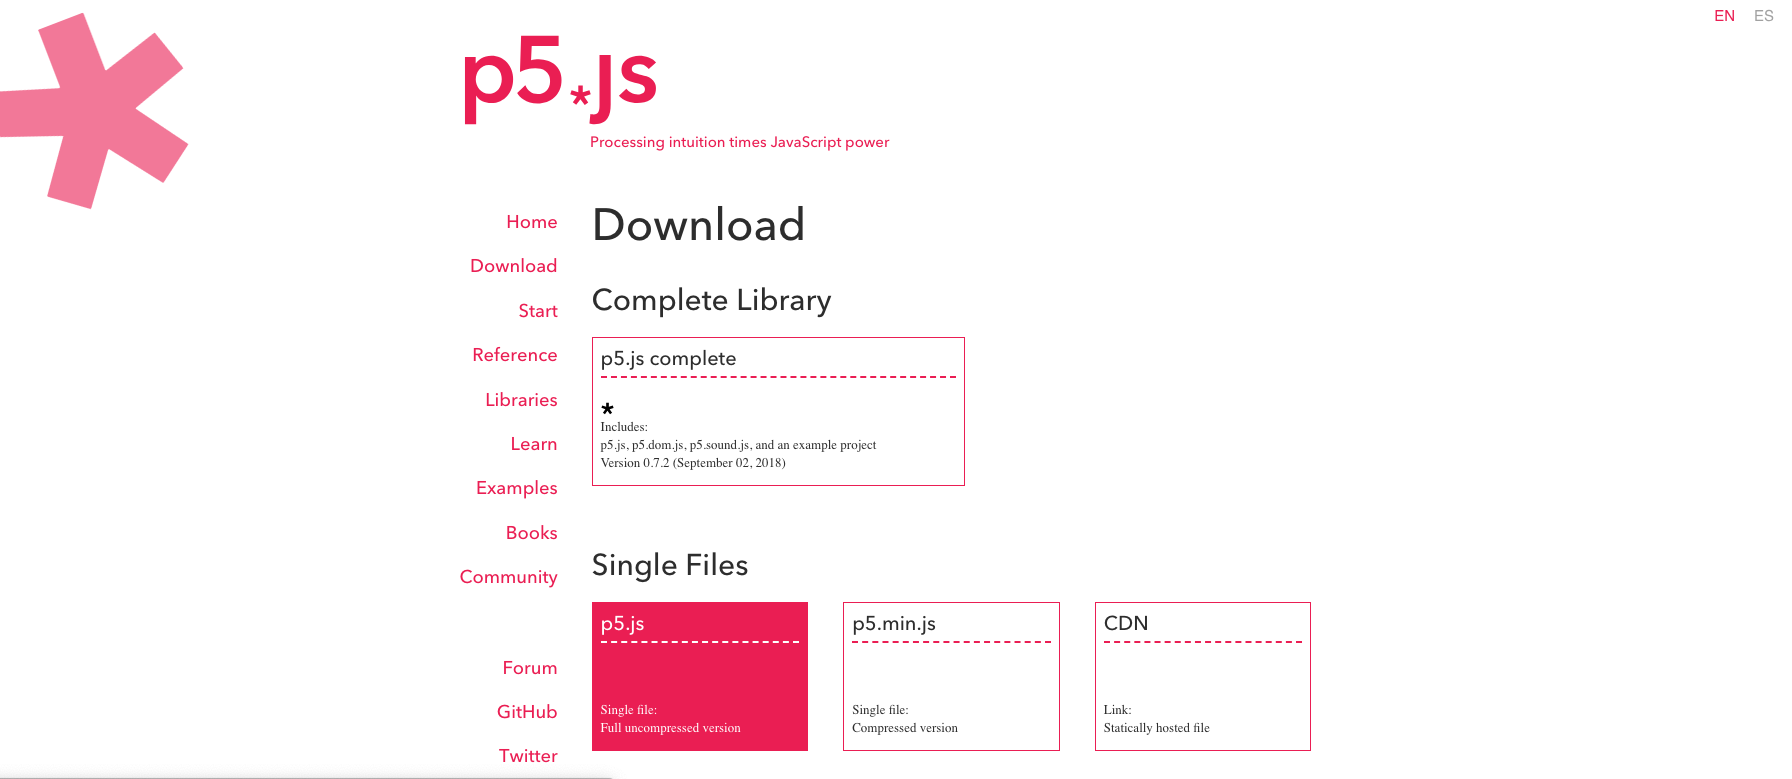
Select Complete Library > p5.js complete.
We will use Kenney's Space Shooter Redux as our main game assets for this simple game, to download, click here.
Since we are using images to run in p5.js , we need to run it in a server, make sure that any version of MAMP, WAMP, or XAMPP is installed.
Once we have all the things we need to make our game, let's now get started.
1. Game Folder Structure
First let's make create our game folder and named it space-shooter.
After that let's create our the folders and files needed in our game.
Here's what our game folder should look like:
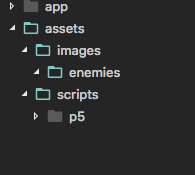
- app - will contain all our game scripts
- assets - will contain all of our game assets and 3rd party scripts like p5.js
Next step is to move Kenney's Space Shooter Redux asset, into our game folder.
If we open it, we'll see all the assets inside it.
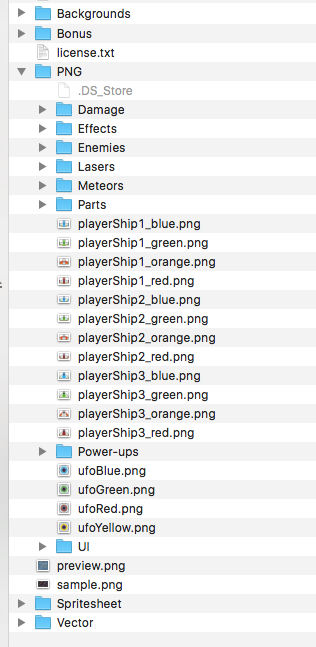
Here's the list of files that we will use and should it be named on to our app.
- PNG > playerShip1_red.png => assets > images > player.png
- PNG > Lasers > laserBlue01.png => assets > images > bullet.png
- PNG > Power-ups > star_gold.png => assets > images > star.png
- PNG > Enemies > [All Files Inside] => assets > images > enemies > [All file number 1.png to 20.png]
Our folder structure now should be:

After that we are now done with the game's folder structure .
2. Setting up game scripts
Let's now create our index.html file.
After that let's now create our main script for running all p5's main functions, sketch.js, app > sketch.js
- preload() is a p5.js function that runs before setup, it is usually used for preloading all the assets(images, sounds, etc) inside the game
- draw() is a p5.js function that runs every frame, in p5.js it runs on 60 fps, so this function will be called 60 times every second.
- setup() is a p5.js function that is mainly used for initializing variables, creating canvas.
-createCanvas() is a p5.js function that will create the canvas where our game will run.
- background() is a p5.js function used for setting the canvas color.
Let's now reference, the sketch.js file on to our index.html.
and now let's run the app by entering this command on VS code's terminal :
php -S localhost:8000
After running our game, we can see a blank black canvas on our window:
3. Asset Manager
Let's now load all the assets in our app, create app > asset-manager.js.
- loadImage() - will load the image based on the path provided in the parameter, and returns p5.Image object
- [...Array(20).keys()] - this code is the ES6 alternative for for (let i = 0; i < 20; i++)
Let's now reference, the asset-manager.js file on to our index.html.
4. Game Manager and Game Object
Let's now create a GameObject class that will be the parent class of all our game entities.
- Our GameObject class will keep track of :
-position (pos) - x,y coordinates of the object in the canvas
-velocity (vel) - keeps track of the x, y movement of the object in the canvas.
- image (img) - the sprite image of the game object from the AssetManager class.
- size (size) - the width and height size of the game object
- life (life) - keeps track of the life of game object
- tag (tag) - tag name to keep track on what time of game object is created.
GameObject's methods:
- show() - render the game object inside the canvas.
- push and pop - is a p5.js function that indicates start and end of positioning.
- imageMode - takes parameter CORNER, CENTER ,CORNERS, for displaying the image
- translate - takes two parameter (x, y) to position the image.
- image - displays the image in the canvas.
- update() - updates game object position in the canvas
this.pos.add(this.vel) - adds the velocity to make the game object move.
Let's now reference, the game-object.js file on to our index.html.
Now let's create our player class.
It will extend the GameObject class, and add these properties:
- fireRate - in every frames our player will shoot bullets
- damage - variable that indicates the player damage to enemies
- bulletSpeed - speed of the bullet that will traverse through the canvas
Let's now reference, the player.js file on to our index.html.
- init() - will be called when the game starts, we will instantiate the player, with 0,0 velocity, cause we want the mouse to make the movement for the player
- loadAssets() - will be called on p5 preload() function, to load all the assets that will be used in our game
- update() -will call all the game objects and render them one by one.
- renderPlayer() - will be called every update and player will follow the mouse position in the screen clamped at playerWidth / 2 and width - playerWidth / 2
And now let's update our sketch.js file, to call respective gameManager methods in each p5.js lifecycle methods.
After we run our game we can see this :
Cool, now we can see our player moving.
That concludes our part 1 of this article series.
Next Article: http://onecompileman.com/blogs/6
Author
